
Hi crafty people,
If you are joining the Itsy Bitsy Sizzix BLOG HOP, you must have joined me from the Itsy Bitsy blog. If not click here for IB's new design team reveal, new challenge and an amazing blog hop.
If you are joining the Itsy Bitsy Sizzix BLOG HOP, you must have joined me from the Itsy Bitsy blog. If not click here for IB's new design team reveal, new challenge and an amazing blog hop.
Its a privilege being on ITSY BITSY blog...when i started my craft journey this was one craft store I would look forward to for pattern paper,chipboards,flower embellies, etc etc..And since than the store has grown many folds..I am sure if you have visited it lately you would have fallen in love with this craft paradise and if not..plan a in-store or online store tour soon ..
This would be my first blogpost as the Itsy Bitsy DT member. And here is what I got as my DT kit for this month...the WRMK banner punch board..We Are Memory Keepers makes amazing punch boards (check out the complete range here)
And don't miss to have a look at that amazing set of pattern papers..
PS: Heavy pictorial post follows!!..

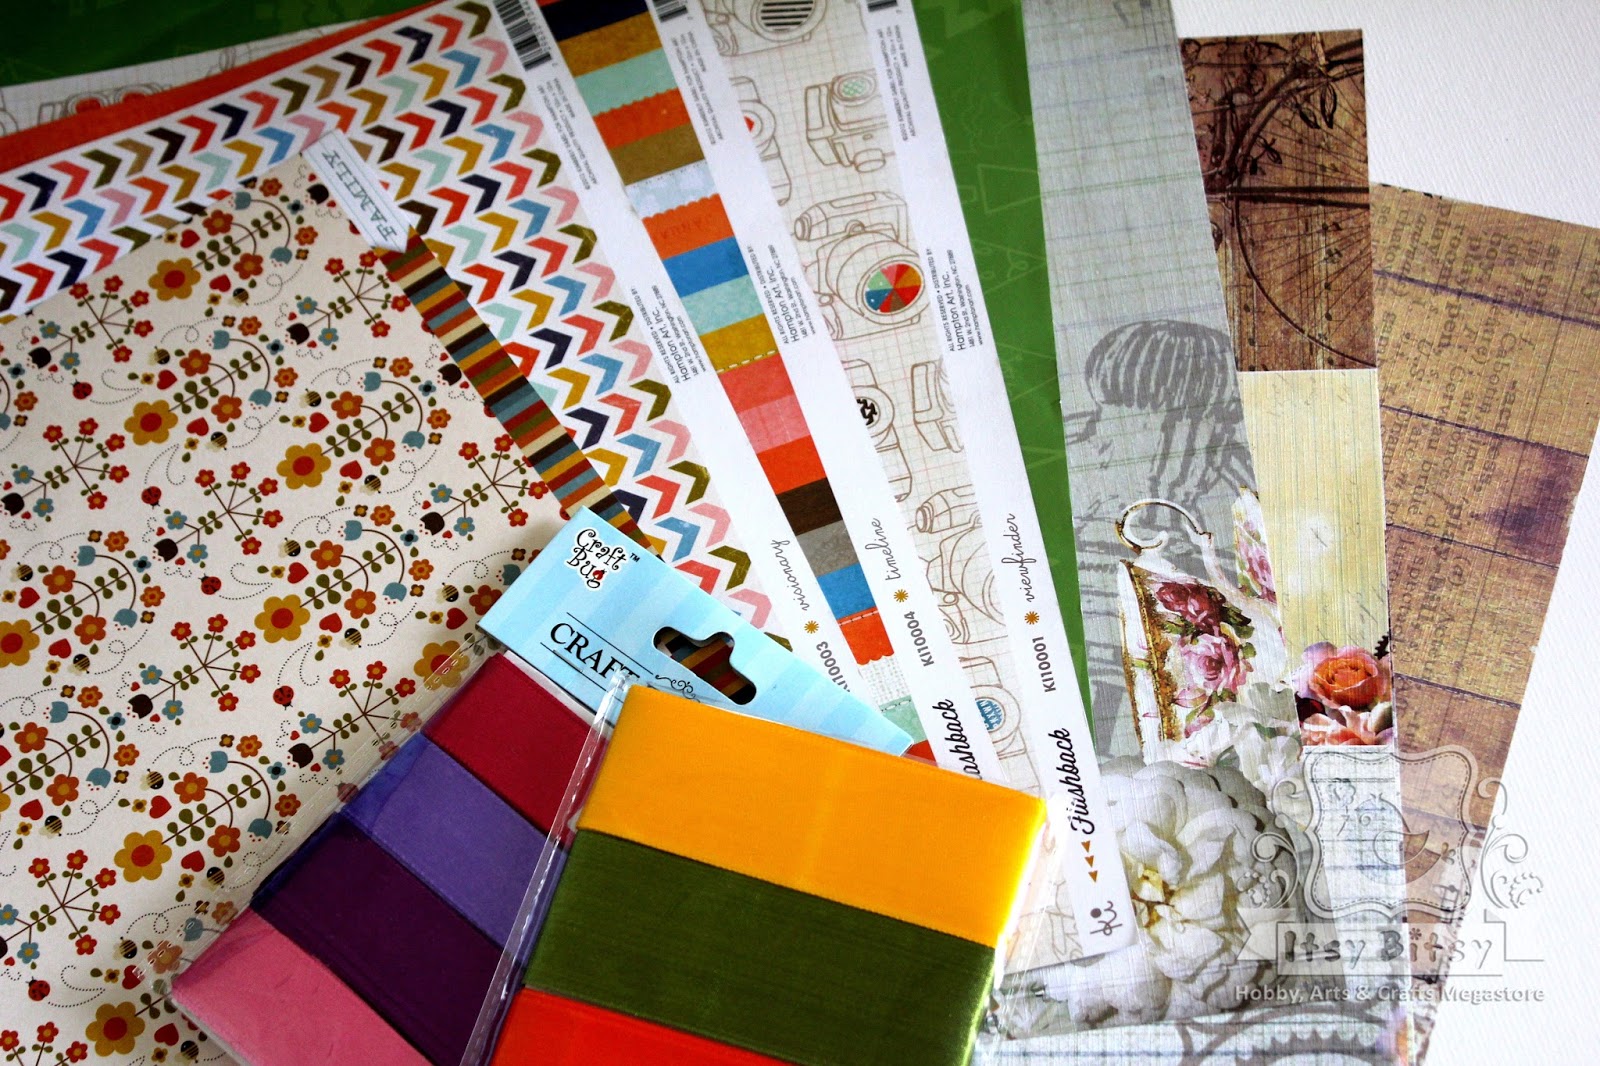
I would be using some of these papers and the banner punch board to create a Shaker Banner.
The banner punch board creates banners measuring between 1" and 8.5 ". The punch board has a cutting blade template with magnetic arm to hold the paper in place while cutting,a hole punch and one swivel blade.
Lets start with types of shapes the punch board can cut..the package says around 30..here sre some most used shapes in banners..These are easy to cut, you just have to follow the horizontal and vertical guidelines on the punch board.

Steps for Shaker Banner (FLAG shaped) :
I took my 12"x 12" pattern paper and trimmed it to 6"x 5" (4 pcs).
Since it shaker I need another set of papers trimmed to 5"x 4".
These are double sided papers,you can use any coordinating papers of your choice.

Next I used my banner punch board to trim the paper to FLAG shape.
Notice the blue swivel blade..it houses itself in the magnetic arm..u don't have to fear of its getting lost or anybody getting hurt.
The punch board comes with hole punch to punch the banner.


This is how the flag shaped banners would look...

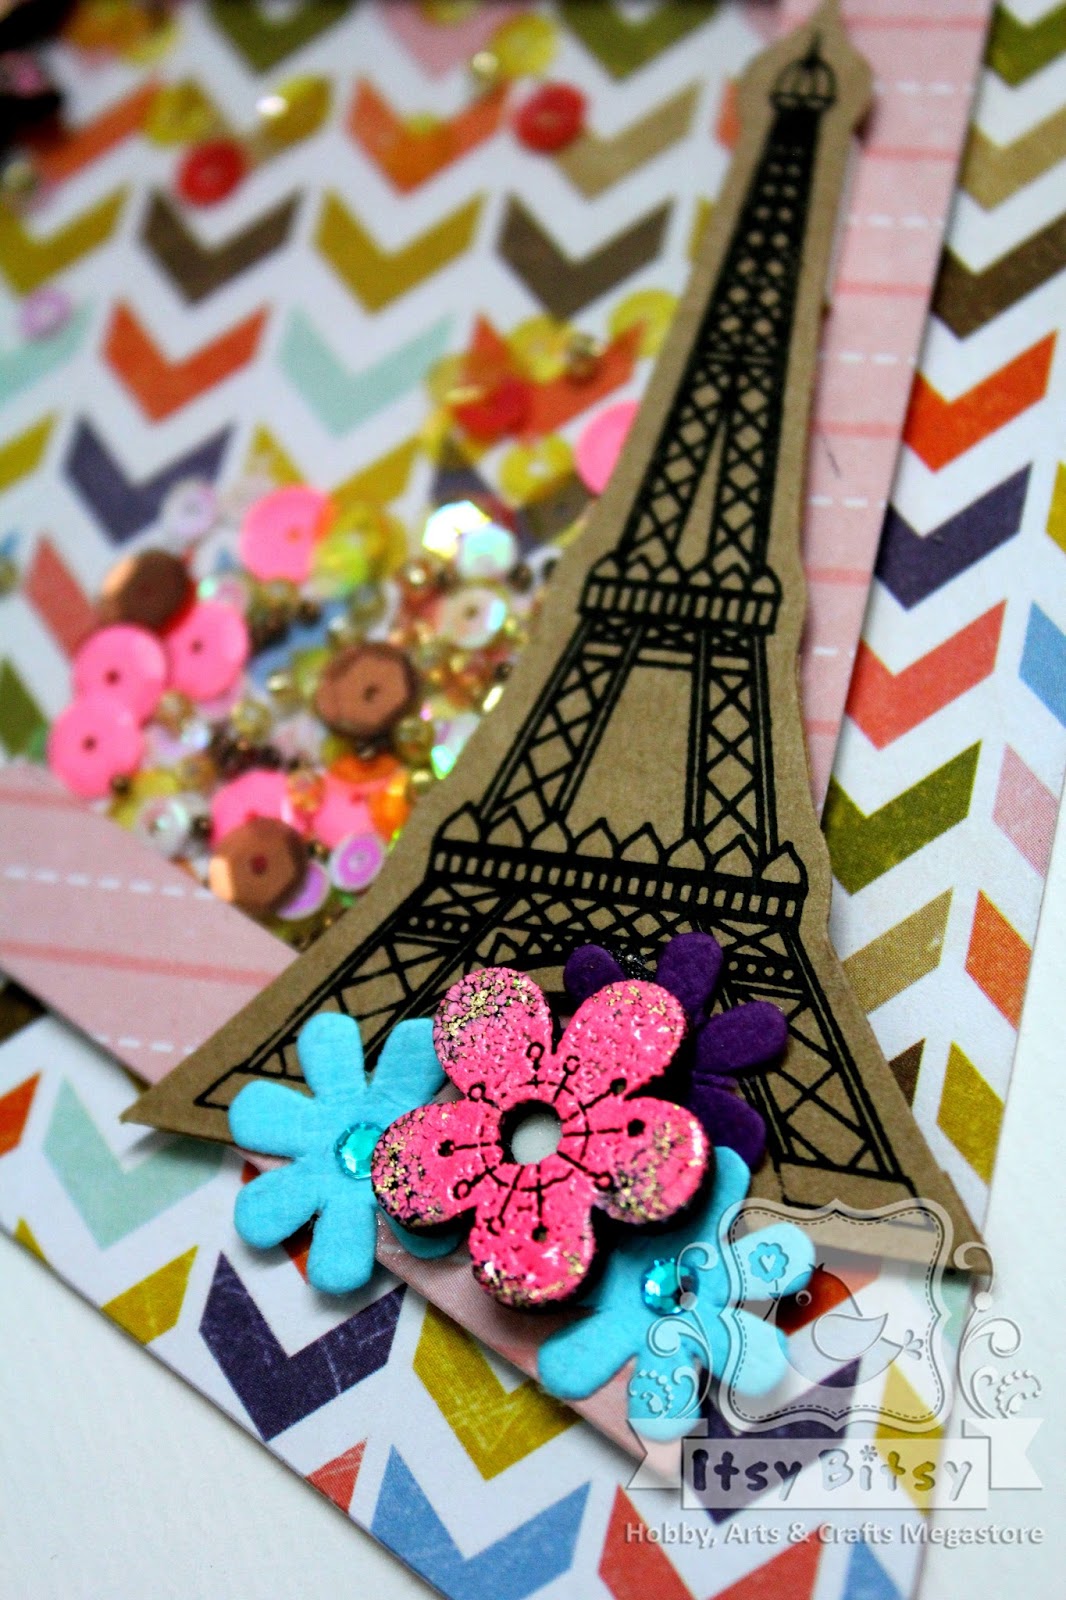
For making a shaker we would require to remove the center piece from the smaller flag banner. I removed a piece Half inch smaller from all the sides. Add transparent OHP sheet to the center. You can use double sided tissue tape to adhere the ohp sheet. Also for giving it a little dimension add 2-way foam tape to the back of smaller flag banner.


I have used sequins and micro glass beads in coordinating colors for making the shaker banner.


Notice the twin owl chipboard..I have heat embossed them by mixing two shades of embossing powders..If you don't have embossing powders than you can also paint/ink these chipboard designs..


Used gross grain ribbon and twine with mini wooden pegs to hang the shaker banner.

Hope you enjoyed the post..Do try and share with us your creations.
Please leave some love here on my blog and you could get lucky and win this sizzix flower die.

Your next stop of the hop is - DT 4
Sharada -
Lekha- you are here!
DT 4
We also have a month long challenge where it is anything goes using a Sizzix die or embossing folder. Find all the details here.
Thank you so much for visiting & taking the time to comment on my blog. I love to hear form you.
Keep Crafting!!
Supplies used:pattern papers,
WRMK banner punch board
chipboard embellishments
micro beads, wooden cloth pegs, flowers
silicone glue
embossing powders
foam tape
double side tissue tape
OHP sheets
ribbons/twine


