Followers

Tuesday, 6 March 2018

Card and Treat box duo

 Hi lovely people, 
Today I am back with one of my favourite set of embellishments, the Papericious 3D mini shakers. 
Also part of my project is the gorgeous Love Actually  paper pack. I would be using the Papericious ready to use treat boxes. 

  I am using the spellbinders classic scalloped circle die to get a scalloped diecut for the semi circular treat box flaps. I have inked the edges of the pattern paper with some archival ink to finish the edges. 

  I have used the beautiful papers from the paper pack on the outer faces of the treat box. These treat boxes comes in various shapes and you just need to remove the tape backing and within minutes you have your gifting solution ready. 
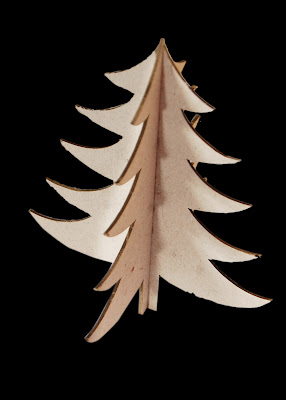
 And here comes the best part...the 3d mini shakers. For the treat box I plan to have a closure band embellished with a simple shaker. Paint the mini shakers using the lovely range of Papericious chalk paints. I have used Brick Red chalk paint.You can paint the inner face of just stick pattern paper. 
 I have fussy cut a sentiment from the collage sheet which comes in the paper pack and than left it free with other shaker beads. One thing I love about these shakers is they come complete with the transparent sheet cut to actual size.

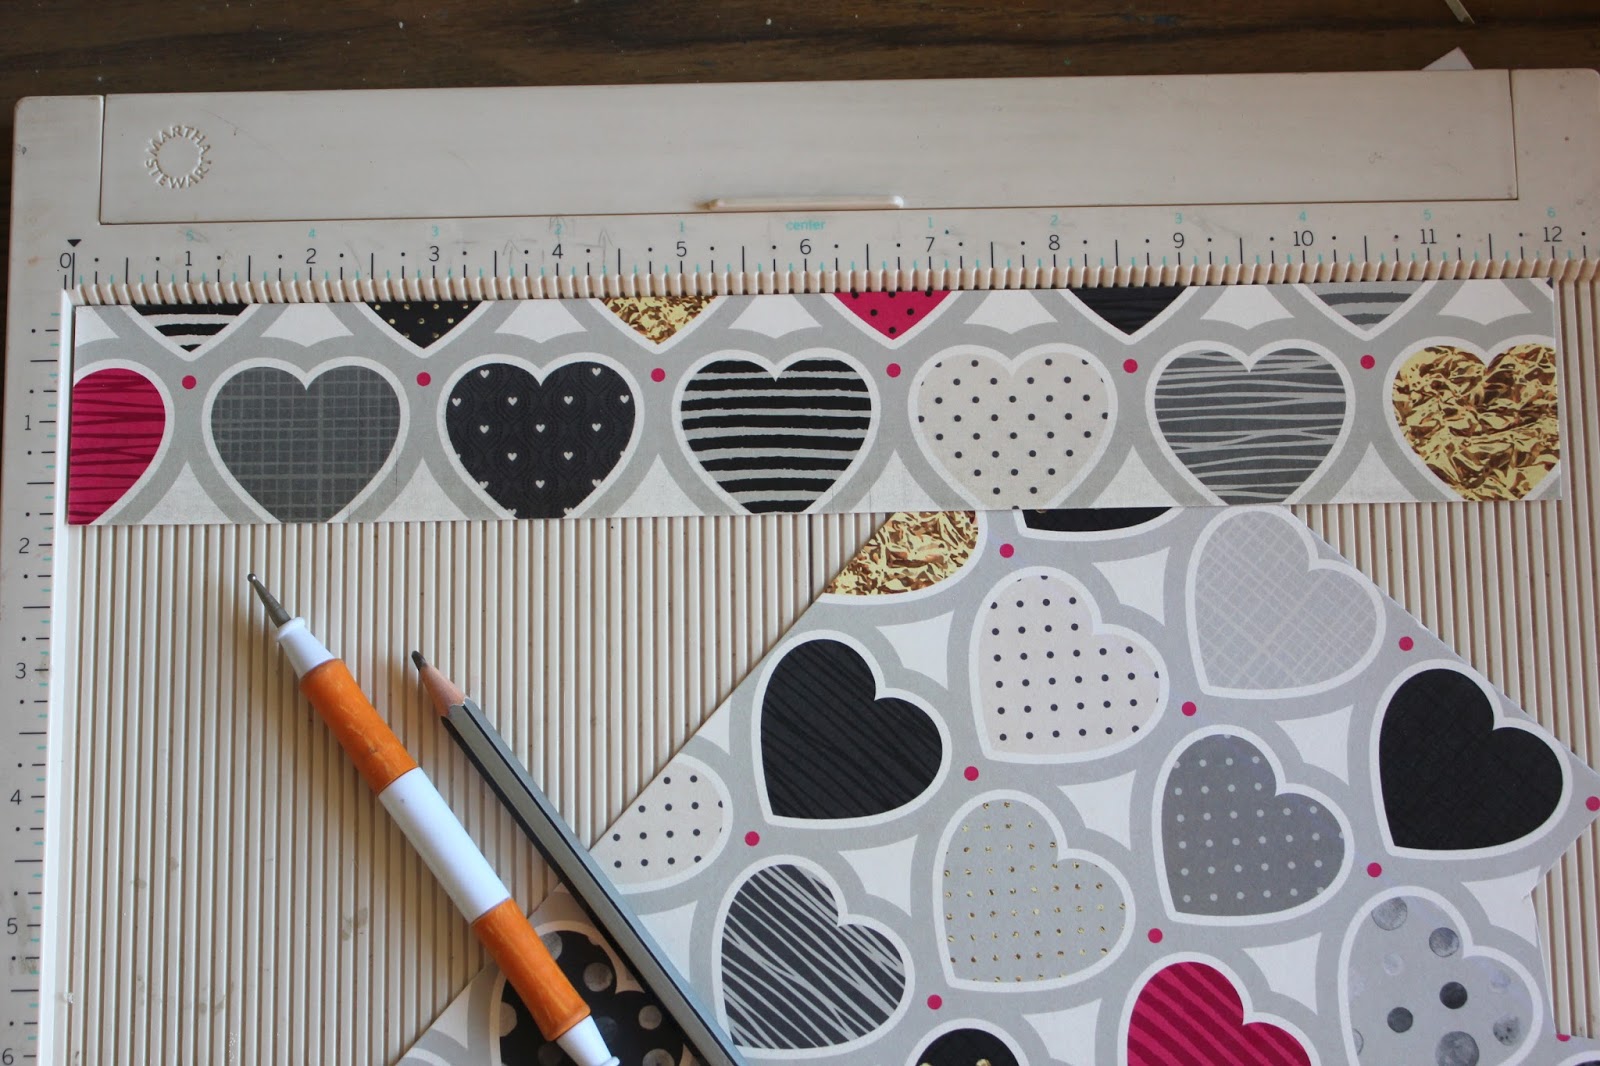
 Next for the band I took 1.5 inch x12 inch pattern paper and scored it according to the thickness of the treat box. Just keep in mind that the band should slip on and off the box easily. 


To coordinate with the treat box I have made simple card. 
Take 5 inch x 12 inch base. Score at 3 inch and 9 inch. Next take another cardstock piece measuring 11.5 cm x 14 cm. I have used a corner chomper to give round edges.


 Layer the cardstock with pattern paper, approx. 1/8th inch smaller than the base of the card.


After adhering all the pattern papers, lets get started with embellishing the card face. 
 I have painted the star shaped 3d mini shaker with gold acrylic paint and fussy cut a sentiment from the collage sheet. I just love the shaker beads from Papericious, these are perfect to complete your projects.


Hope you get inspired to try these. 
Keep crafting
Supplies used:


Friday, 1 December 2017

Monochrome affair

Hello Everyone!...
Papericious just launched the new Monochrome paper pack in evergreen Black n White color series. These come in  12x12 inch and 6x6 inch paper packs ideal for all your crafting needs. 
Here is quick inspirational post in line with upcoming festive season. 
I have used the monochrome pack to make an explosion box .
Another new launch are the 3d chipboards. These chipboards are 3d in nature and can be locked via locking mechanism. They can be used for stand alone projects. 
 For my explosion box I have used the Christmas tree and the Stars.


Thanks.
Keep Crafting!!
Lekha

Supplies Used:


Friday, 16 December 2016

Playing with Dies

HI 
Today post will be with Itsy Bitsy dies and would be playing around with few easy techniques to create some simple and fast cards. I am playing around with nesting dies (scallop heart die and decagon die) and 220 gsm thick white cardstock.
For the first card I have used the  decagon die to create a de-bossed effect. You can use the other side with embossed effect. 


I have placed the nesting dies in a eccentric pattern and taped it to the cardstock. While embossing place the first cutting plate on Tab 1(using Big Shot machine) followed by rubber pad and than second cutting plate. 


 Here is the deboss look.


I have hand cut the butterfly and stamped the flowers and sentiment from the hope and smile stamp set.


For my second card I have used the scallop heart die to create a window and frame for the front panel of the card.


For the window use the smaller die and for the frame use both smaller and larger one from the set. 


For stamping I have used Itsy Bitsy chalk ink trio. I love how juicy are these chalk inks. And you get three colors in single ink pad. 


The leaf background comes from the leaf die I cut multiple time from a single piece of card stock and later used it as a stencil. This way you can even use your scraps and create interesting backgrounds. 


Another interesting use of nesting dies can be in creating embellishments. Here are few I made. 
The birdie comes from my handmade resin embellishments stash and the papers are from the new Itsy Bitsy launch chevron aquarelle papers and used flowers to complete the shaped tags.


 I have used rose from the angle rose carnation collection, I totally love the roses from this set.


Also, you can maximize the use of dies by using them as templates for shaker embellishments. Here I have used WRMK Fuse tool with the largest die from the decagon die set as the template to my shaker pocket. I love creating shakers and fuse tool is one great tool to have in your stash. You can use them with your cards, embellishments, scrapbooks etc...


And the hearts are cut in felt  from the smallest scallop heart die. These dies cut felt like butter, you can check my last post on felt plushies for more ideas. 


Hope you liked these ideas to maximize the use of your dies.

Friday, 2 December 2016

Felt plushies

Hello people,
It was my childhood hobby to make cute felt plushies. These are cute, little, fun tiny miny things to make on a weekend.

(Few of the colors available at Itsy Bitsy)
I have used the thin cut heart dies in different sizes to cut through felt. And these dies cut the felt like butter. 
Lets start making these....
I have used blanket stitch to sew together the bigger pieces and fill the plushie with cotton. Blanket stitch is the easiest when it comes to putting these little pieces together.
You can either choose a same color thread or shaded thread for a cool effect.

                                  Image result for blanket stitch steps
                                   (pic courtesy Google Images) 


For the base of each plushie cut 2 large heart pieces in yellow, pink, blue colors.


Notice the intricate scallop design in the smallest heart also. That is how fine these dies cut.


 For the blue felt plushie I have white crochet lace between the two pieces. The little bee sticker is turned into a resin embellishment.


These days there is an ongoing shaker mania, so here is a cute little felt shaker.
For this have cut the center using the second largest die in the set and used ohp sheet and filled granules & sequins. Have used blanket stitch to sew the edges.
The best part about shaker embellishments is you can pretty much put anything inside the belly. 


 Here are the little felt plushies...


 Hope you enjoyed these and would love to hear more from you.